 Worlds Exclusive Product!
 |
 |
Lusifer mod
v3-v4 is used to automatically open-close the dvd tray of PS2, allowing
you to perform the swap trick with Swap magic Disks and boot your safety
backups! For the installation no soldering required but only Plug&Play
actions! Lusifer mod is absolutely safe for your PS2, having absolutely
no effect in the right operation of your console!
|
 |
|
|
Installation of Lusifer mod v3-v4 kit requires to open the console and
lose the guarrantee. No-soldering required, but we are not responcible
if anything happens during the installationit because of a wrong action!
|
 |
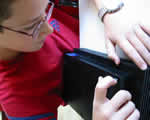
The installation will be performed by a 12 years old boy,
who has modify his PS2 by himself!
We really like to thanks SLuR..!
|
|

|
 |
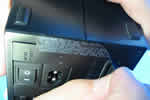
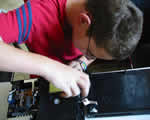
Remove the plastic covers in the bottom side of PS2,
to get access in the screws.
Unscrew 10 screws with a Philips type screwdriver.
|
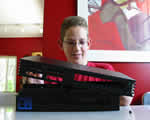 |
Pull the upper protective case of PS2,
starting from the back side first!
Warning: The top cap is connected
to the console,
with a sensitive Ribbon Cable!
|
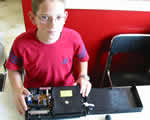 |
Place the upper protective cap,
as shown in the photo,
to proceed with the installation.
|
 |
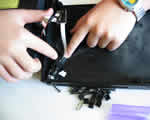
Unscrew the 2 gold-coloured screws,
that are holding the CD-Rom.
|
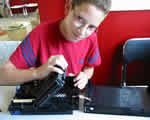 |
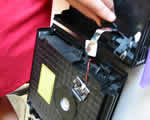
Lift the CD-Rom, as shown in the photo.
Warning: CD-Rom is connected with
the mainboard,
with a sensitive Ribbon Cable!
|
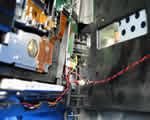 |
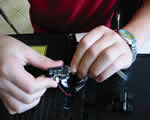
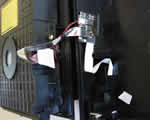
Install G1-Plug In by unpluging the wad with red/black
wires,
and pluging it to G1-Plug In.
Then connect the short edge of G1-Plug In to the mainboard.
|
 |
Connect the long edge of G1-Plug In to Lusifer mod.
|
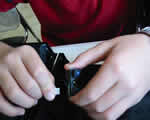 |
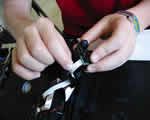
Disconnect the original Ribbon Cable from the Eject/Reset
button.
|
 |
Connect the original Ribbon Cable to Lusifer mod connector
shown in the photo.
|
 |
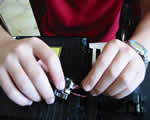
Use the extra Ribbon Cable that comes with Lusifer mod,
to the connector shown in the photo.
|
 |
Connect the other side of the extra Ribbon Cable to
the Eject/Reset button.
|
 |
Put back the Eject/Reset button.
|
 |
Place Lusifer mod in the upper protective cap of PS2,
with a double side sticker.
|
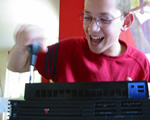 |
Reassemble your PS2,
and ENJOY YOUR GAME!
|
|
|
| |
